Hi PSN gamers, this post will help you how to create PSN accounts for JP/US/UK/HK PSN. By having these four accounts you will have the maximum deals opportunities from PSN all across the world. We based our guide on PC.
Why PC?
Well if you are seeing our site, we usually linked game sales to the PSN on web browser, not on PS3/PS4/Vita. Our site is best consumed on PC, even to take advantage of game sales everything is better from PC. That's why we based our guide on PC. Also PSN contents on consoles are usually only catered to that console, you can't see PS4 games on your PS3. That's why PC is the best to take advantage especially for cross consoles or for games on consoles you yet to own.
Secondly, with our guide, you don't even need to have PS3/PSP/PS4/Vita or any PlayStation consoles to begin with. No, you are not hear me wrong, you can take advantage of any game sales or any free games BEFORE you have any PlayStation consoles. After you have your own consoles, you will only need to log in into your account and download everything you have obtained before.
Before you create your accounts, you need to prepare these ingredients:
- 4 different private emails that never been registered on PSN before. Best method is to use GMail, create a ID with suffix _US or _JP depends on the region. For example: johndoe_us@gmail.com / johndoe_jp@gmail.com, and so on.
- An 8 digits alphanumerical password, it have to combine alphabets and numbers, you may also include a capital letter, but PSN doesn't require it. Make the password all the same across all accounts so that you are convenient to remember it. Since being PSN cross region gamer means you have to do alot of logout/login on PSN store from PC.
- A valid address in US/UK/JP and HK. Don't worry you will get them from this guide:
How to have your own private address?
If you live in one of these four regions, you can use your own address. If you don't however, you can use Borderlinx Forwarding Service, they will give you a valid US and UK address and capable to send any documents or stuffs you received from your US/UK address. They are absolutely the best choice minus one thing is that they don't give you JP address. For this guide, we used vPost. Which will give you 4 addresses, for US, UK, JP, and China.

Visit vpost on www.vpost.com, you will be greeted by screen showed above. The disadvantage of this service is they only forward to 5 countries showed on the screen, so if you receive something on, say, your JP address, they won't be able to forward it to you, unless you have a friend on one of these 5 countries, or using another forwarding service that send your stuffs from these 5 countries to your country. Anyway, since we only need address for registration, you can choose any country, we used Singapore.

You need one email of yours to register, just write your email address on the space pointed by the red arrow and click the red SIGN UP button next to it.

Your email will be automatically inserted on the first box. You just need to write the rest. After you are done, click the red SIGN UP button.

That's it! You're done! No need for email activation, Google Chrome will even offer you to remember the password, and we did save our password. Wait for 5 seconds or click the link if the next page is not loading.

You will return to this page already logged in. Click My Addresses to see your own address.

There you go! Four addresses on four regions, although China address can't be use with HK PSN, you can use US/UK/JP address on PSN. And just like your home address, these addresses are personal and under your name, so don't share it with anyone, especially strangers, you wouldn't like your address known by strangers, don't you? However, you may assist your friend to register and get theirs.
Now after you have your addresses. Let's go creating your PSN accounts.
Open any PSN Store or just click this link. You can create any PSN account straightly from any PSN store.

You will see PSN store just like above. If you are logged in, you need to log yourself out first. If you are not logged in yet, skip this.

Click Create Account on top right part.

You will see a form just like above, you'll need to enter your email and birthdate. Of course if you are a minor you can fake your birthdate but do it at your own risk. The vital selection here is the Country/Region since it will associate your account with the PSN Store of that region. Let's check what happened if you choose UK/HK.


You see, you need to repeat this Create-Account-procedure 4 times, one for US, one for UK, one for HK. Their process are all the same and conducted in English. The fourth? It is for JP region, and you will see that in the later part of this post. Anyway, just choose the Country/Region you want to make and scroll down. Our example below is for US region, but the same process applies to UK/HK region as well.

I suggest to uncheck both offers to avoid spams from PSN. Click the long blue button when you are finished.

Now you need to set an Online ID. This ID is permanent and unique to each account, so think of it carefully. Our suggestion is written in red text above, for example if your main ID is JohnDoe, just create JohnDoe_UK or JohnDoe_HK. Easy to remember.

Now you need to write some details about yourself. You should fill the same for all regions.

Now it's asking you for your address. Just write down your address that vPost or Borderlinx gave you. The example above is for United States. You will need to do similar thing with UK and HK address. For HK address, you cannot use China address from vPost, luckily HK PSN does not checking its address unlike US/UK/JP PSN. So you can enter any address you like, or copy a hotel address from Google.

Just click no. For cross region gamers, prepaid cards is your friend. No need for any Credit Cards, the reason is because only local Credit Cards are allowed.

You will see the offer again, it is up to you to check or uncheck but to reduce spams, we suggest to uncheck. Click Finish when you are done.

Congratulation, you have finished creating one account. You will be automatically logged into the PSN Store on the region you've just created. Of course you can start browsing games or grab demos etc. But if you want to create another PSN accounts, you need to Sign Out and click Create Account again. The process for US/UK/HK PSN is all the same since they are all in English. JP PSN however, only available in Japanese. So the next guide is exclusive for JP PSN.

After choosing Create Account, write your email for JP PSN, input your birthdate, and choose Japan as your region. This will be the last English screen you see.

The screen now changed into Japanese. If you have entered your email and birthdate, they will be automatically converted into Japanese format which will saves you some headache. Our next focus is the City drop-down list. Click on it.

Okay you will need some Japanese to choose Tokyo, the Kanji is written as 東京都, it is the 13th selection in Black colour. Or the one above the city name with 4 kanjis. Just like on the screenshot above. Choose it.

Now you need to scroll down, enter password and captcha just like usual, don't forget to uncheck the offer. Then keep scrolling down.

That's the blue button you need to click.

You need to enter your Online ID again. Try your main ID + _JP suffix just like example above. And no, you can't use Japanese letters. Online ID is strictly alphabets and numbers only, and only hyphens or underscores is permitted to separate words.

Enter your name, it's okay even in English. We suggest you to create your own security answer by clicking the blue-coloured link between the long boxes. You can even write your own question and answer in English.

Now you need to enter the ZIP/Postcode first, the code in vPost includes hyphen, but it is okay to write without hyphen. Click the blue button next to it and it will automatically fills in some form for you.

Follow the instruction on the picture. Except for the mandatory field automatically filled in Japanese, it is okay for the address to be written in English instead of Japanese.

Choose No.

Uncheck the offer, and click the blue button.

And that's it! You are done!
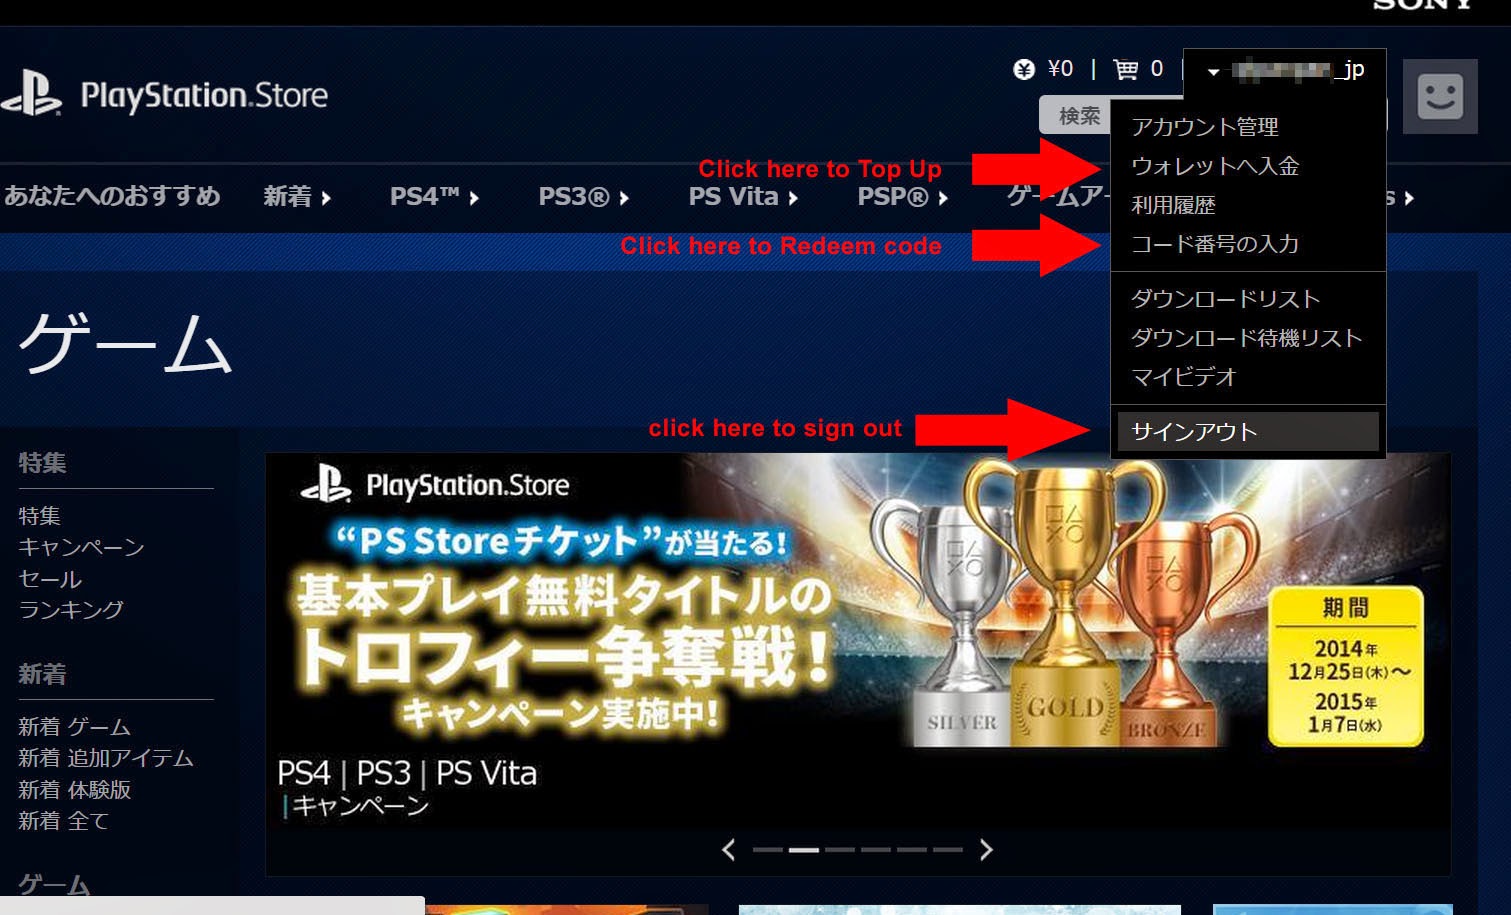
Remember that you need to Sign Out everytime. You cannot check PSN Store on other region if you are logged in.
After you have all your PSN accounts ready, now let's use it on consoles, I will show you how to do it on PS3, it shouldn't have a lot of differences on the other PS consoles. Of course I'd like to do it on PS4 but I don't have it yet and I am a bit low on budget.

Choose to create a new user. Sorry for blurry shot.

You can choose any name. I leave this to you. But I suggest to give a clue about what region it is connected. For example you can name it as: My JP PSN Account.
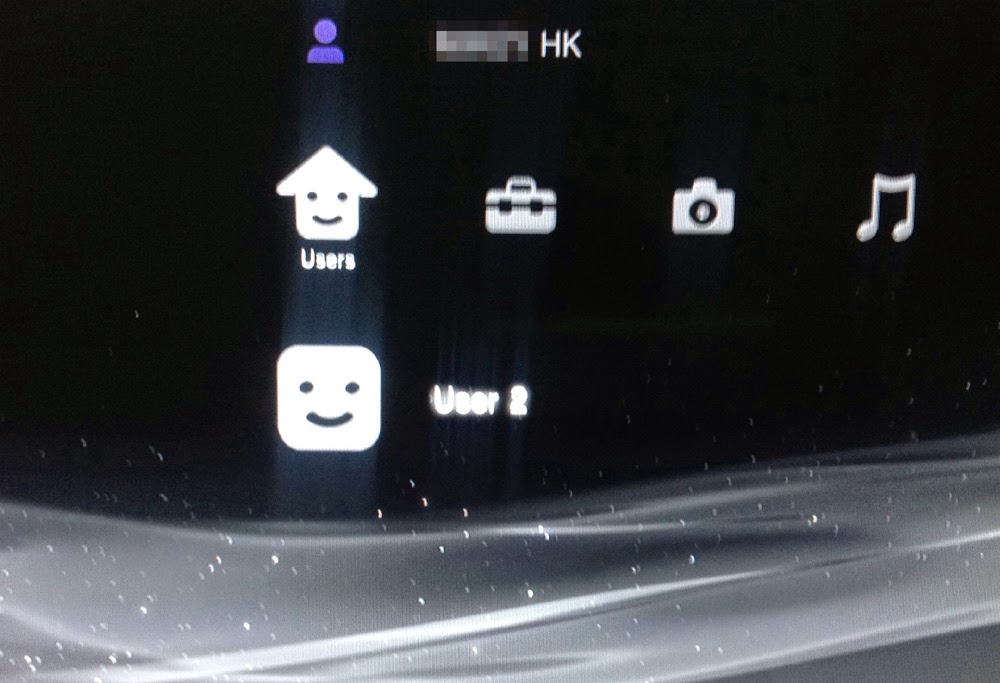
I didn't do any naming on the example above, though. Now you need to Log In as newly created user. Press X (or O if your console is Japan/Asian)


Now under PSN menu, choose Sign Up.

Choose to "Use an Existing Account"

Write your email associated with the account you want. Type in the password and check save password for conveniences. Click Continue when done.


The screen will immediately become Japanese. Even if you started everything in English. Luckily, the PS3 system menu still in English.

It will still prompt you to Sign In. Don't worry. Just choose this icon.

I suggest you to check the Auto Sign-In. Then choose Sign In below.
That's it! Do it for all regions and you are done. You will have US/UK/JP/HK PSN on your consoles. You are now a Gamer Without Border. I suggest you to read the FAQ for any information surrounding multiple PSN region accounts.
See also our guide on:
Important notes:
- Games are region free, but DLCs and game saves are locked into the same region with the game itself. Remember which game tied with which account.
- Treat these accounts as wallet, they are legal payment for each store. Do not share your account or any credential information related to it to anyone else.
- Payment with PayPal and Credit Card on PSN only works if your billing address is the same with the country you created the account with. So for cross region gamers, prepaid vouchers are your only option.
- You should play the games under your own main account. Purchased games, including the free games from PS Plus are playable with any account on the same console.
- In general, only if the game is a full game trial then you should play it under the purchasing account for the first time. You can use any account the second time playing it.
- If the game/app is subscription-based, you can only use it under your account that have been used for purchasing.
- Do not use your account to cheat online. Or your account will be banned.
- Do not use your account for gamesharing. Or your account will be banned.
- Do not use obscene or offensive word(s) as your or parts of your account name. Or your account will be banned.
- Do not use your account for spamming others. Or your account will be banned.
- Do not use your account to threat other players, not even as buddy jokes. Or your account will be banned.
- Do not use a modified game saves. Or your account will be banned.
- Do not use your account on a jailbroken or modded console. Or your account will be banned, and your console too.
- This blog do not condone any topic related to games-piracy, please don't ask us how to get games for free. However, free games do exist and are free if they are being set as such by the publisher, which we will notice you in this blog.
follow our twitter @psnworldupdates
No comments:
Post a Comment